
First steps
Your account exists. Before creating a program, two settings are worth the minute they take, because they affect what your customers will see.
The five tabs of the app
The whole app fits in that bottom bar. Nothing is hidden elsewhere.
Programs
Your loyalty programs, their creation and their settings. This is your starting point.
Customers
The list of issued cards, with the state of each one and the visit history.
Scan
The central blue button. The one you will use most, on every customer visit.
Promos
The promotions shown on your customers' cards, and their history.
Statistics
Visits, new customers, active days, estimated revenue.
And your profile
Reached from the icon at the top right. That is where your logo, your subscription and your security settings live.
Check your profile
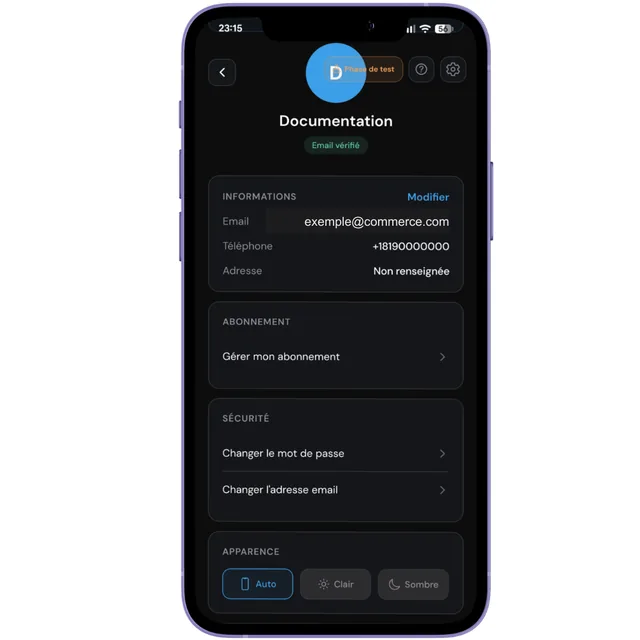
The name shown at the top is what your customers will see on their card. The email verified badge must be there: without it, creating a program stays blocked.
- Information: email, phone and address of your business.
- Subscription: your current plan and how to change it.
- Security: password and email address.
- Appearance: automatic, light or dark theme.
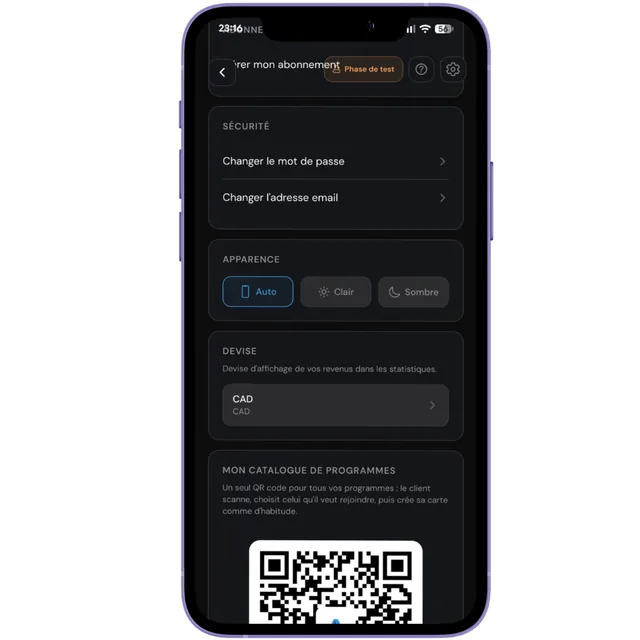
Add your business logo
This is the highest-return setting in this chapter. Your logo appears on every one of your customers' cards, in their browser and in their digital wallet, and on the notifications they receive.
Without a logo, the card stays plain and the customer may hesitate to recognise which business it belongs to, especially if they hold several loyalty cards.
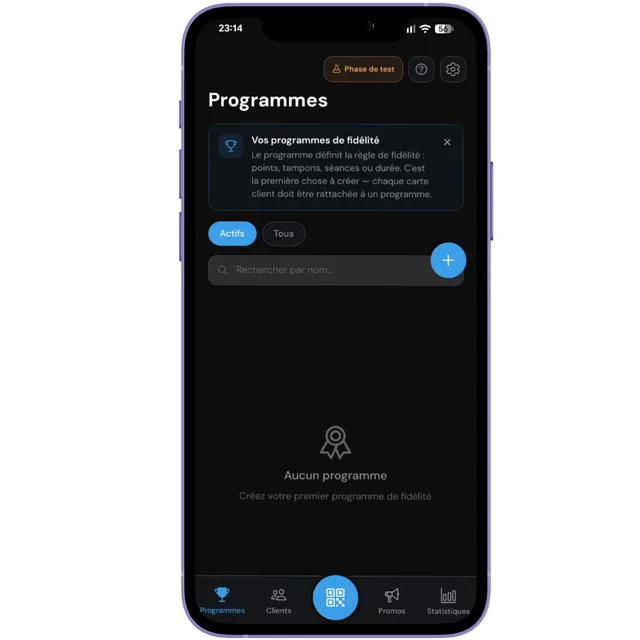
Your program list is empty
That is normal, and now is the time to fill it. One thing to keep in mind before tapping: on the free plan, the type of your first program locks the type of every one after it.
So take thirty seconds to pick the right one, rather than creating a trial you will regret.